
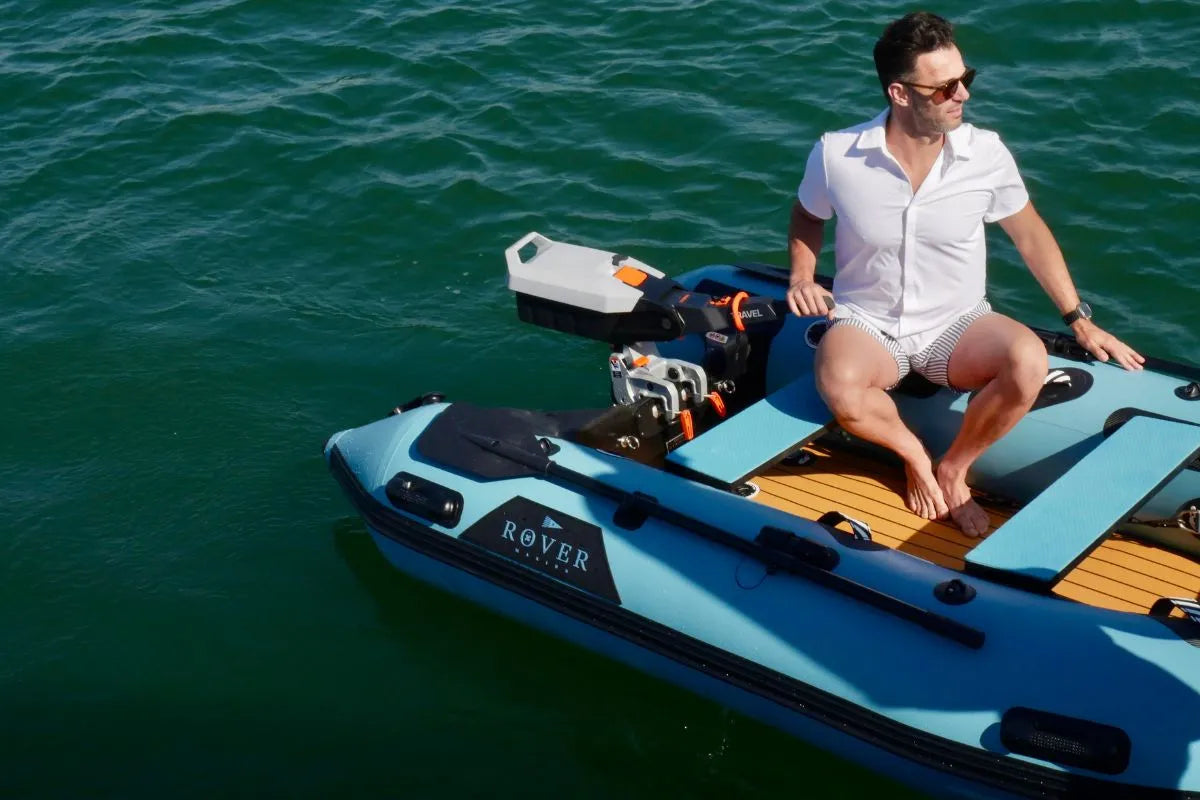
Rover Marine off-season protocol
Poor storage can shorten an inflatable boat's service life
A portable inflatable is easier to store than a rigid hull, but it still needs a clean, dry, protected off-season plan. Moisture, salt, grit, sharp creases, pests, heat, and long periods without inspection can create avoidable damage while the boat is packed away.

Inflatable boat storage is not complicated, but it is unforgiving about moisture and grit. Compact storage only helps after the boat is clean, dry, protected, and folded with care.
Current Rover Marine packed dimensions vary by size: 38 x 24 x 15 inches at 8 ft, 45 x 28 x 18 inches at 10 ft, and 48 x 32 x 20 inches at 12 ft. That makes storage easier than a rigid hull, but it also means whatever you seal inside the fold can sit there for months.
Use this as an off-season checklist for Rover Marine inflatables and similar small inflatable boats. Always follow the current owner's information for your exact boat and motor.
Start with a clean boat
Do not store a dirty boat. Salt, sand, mud, fish residue, sunscreen, fuel residue, and grit can sit against the tubes, seams, hardware, and floor while the boat is folded.
Wash the boat before you think about folding it. Rinse the underside, around the transom, around valves, and along the seam channels. If the boat was used in saltwater, give the rinse more time than you think it needs.
For the full cleaning process, use the Rover Marine inflatable boat cleaning guide before running the storage checklist.
Drying is the whole job
Many preventable storage problems begin with trapped moisture. A folded inflatable can become a dark, low-airflow environment. If water, grit, or damp fabric is sealed inside for months, mildew odor, staining, corrosion, and abrasion become more likely.
Dry the boat inflated first. Towel the seams, handles, rub rails, valves, hardware, and transom. Flip the boat and dry the underside. Let the boat sit long enough for hidden areas to dry, then check again by hand.
Under and beside the floor
Water can sit in the channel between the drop-stitch floor and tubes. Stand the boat on its side and let that seam drain before storage.
Transom corners and fittings
Seat brackets, D-rings, handles, clamp pads, and transom hardware can trap water. Dry them before the boat goes into the bag.
Valve seats and caps
Rinse valve areas with fresh water, let them dry, and keep caps clean. Do not let sand or salt sit in valve threads.
Possible trapped water
If a chamber was flooded or you hear sloshing, stop and follow the current boat instructions or contact support before storing.

Deflated or inflated: choose by your space
For most owners, deflated storage is the practical answer. It saves room, keeps the boat out of the weather, and makes winter storage possible in a garage, locker, closet, or protected storage area.
Inflated or partially inflated storage can work only when the boat is supported correctly, protected from sun, and kept in a stable environment. Follow the current storage and pressure instructions for your exact model. Do not invent a reduced storage pressure or hang the boat from unsupported points.
Do not leave an inflatable stored outdoors under a tarp for the season. That can combine moisture, heat, UV, pests, abrasion, and temperature cycling in one place.
Fold without creating hard creases
A fold is a stress line. The goal is not to create a perfect brick. The goal is to make a clean, dry, controlled package without sharp creases, hard hardware contact, or grit trapped inside the layers.
- Open the valves and let the boat deflate fully.
- Use a compatible pump's deflate function if available.
- Remove loose gear and hard parts before folding.
- Fold the tubes inward over the floor only after the boat is clean and dry.
- Roll slowly and push air out ahead of the fold.
- Strap loosely enough to avoid sharp compression lines.
- Store in a breathable bag or supplied storage system, not sealed plastic.
If possible, avoid forcing the exact same hard fold lines every season. Small shifts in the fold can help prevent one crease from carrying all the long-term stress.
Valves, transom, and hardware
Valves, transom hardware, and metal fittings deserve their own pass before storage. Rinse and dry the valve areas. Keep caps clean and secured. A valve cap helps protect from dirt and debris, but it should not be treated as the primary pressure seal.
For the 15 inch transom, remove the motor, clean clamp contact points, rinse salt residue, dry the area completely, and inspect screws, clamps, mounting pads, and exposed metal. Store removable parts in a labeled bag so spring setup is easier.
If anything looks loose, cracked, corroded, or out of place, contact Rover Marine before you store the boat for months.
The motor is its own winterization job
The boat storage checklist is separate from the motor checklist. Follow the motor manufacturer's manual for winterization, storage angle, lubrication, flushing, fuel handling, and battery care.
Gas outboards
Flush with fresh water, follow the manual for fuel stabilization or draining, check gear oil, lubricate as instructed, and store in the proper orientation. The motor manual is the authority.
Electric outboards
Rinse and dry the lower unit and connectors according to the manufacturer instructions. Store the battery in the temperature range, charge range, and inspection interval specified by the battery maker.
Rover Marine carries electric motor options for compatible setups in the electric outboard motors collection. Always follow the specific motor and battery documentation.
Inflatable boat storage environments, rated
This section replaces the wide table from the draft with responsive cards so the information reads cleanly on desktop and mobile.
Heated garage
Temp swingLow
HumidityUsually lower than outdoor storage
UVNone if kept out of window light
Pest riskLower, but still inspect
VerdictPreferred when the boat is clean, dry, elevated, and protected.
Unheated garage
Temp swingModerate to high
HumidityVaries by building
UVNone if stored away from sunlight
Pest riskModerate
VerdictUsually workable if fully dry, elevated, and checked mid-season.
Shed
Temp swingHigh
HumidityOften high
UVNone if enclosed
Pest riskHigher
VerdictUse only with dry storage, elevation, pest control, and periodic checks.
Attic
Temp swingVery high
HumidityOften lower, but varies
UVUsually none
Pest riskVaries by home
VerdictNot ideal because heat cycling can be hard on materials over time.
Outdoor under tarp
Temp swingVery high
HumidityHigh
UVPossible at edges and through wear points
Pest riskHigh
VerdictAvoid for long-term storage when a protected dry space is available.
Boat locker
Temp swingModerate
HumidityCan be high
UVNone
Pest riskUsually lower
VerdictWorks if the locker drains, vents, and the boat is fully dry first.
Best practical storage: clean, dry, elevated, protected from direct sun, away from solvents and fuel, and in the most temperature-stable space you have.
Rodents are a real storage risk
Rodents can damage stored fabric, bags, wiring, foam, labels, and boat material while nesting. A clean, folded boat in a quiet shed can become attractive if the building already has a pest problem.
- Store the boat elevated, not directly on concrete or dirt floors.
- Keep it away from walls where rodents travel.
- Remove pet food, bird seed, trash, and nesting material from the area.
- Inspect the storage space mid-season.
- Use a pest-control plan that is safe for your building, pets, and family.
The 10-step off-season protocol
If your season does not actually end
Not every owner needs a winter layup. In Florida, the Gulf, southern California, the Caribbean, and other warm-water regions, fall and winter may still be active boating seasons. Storage becomes a humidity, salt, and UV-management problem rather than a freeze problem.
- Rinse after saltwater use, even when the boat does not look dirty.
- Use shade or protected storage whenever the boat is not in use.
- Check pressure more often as cool mornings and warm afternoons change air pressure.
- If the boat lives in a locker or on davits, pull it periodically and dry it fully.
- Renew registration on your state's schedule, not the season's schedule.
For registration planning, read Do You Have to Register an Inflatable Boat?.
Spring wake-up checklist
Do not go straight from storage bag to boat ramp. Give yourself time to inspect, inflate, and correct small issues before the first launch.
- Unroll the boat in a clean area and let the material relax before forcing folds open.
- Inspect fold lines, seams, handles, rub rails, valves, D-rings, floor edges, and the transom in good light.
- Inflate the floor to 10 PSI and the tubes to 3.5 PSI unless current instructions for your exact model say otherwise.
- Let the boat sit and monitor for obvious pressure loss.
- If pressure drops, check valves and caps first, then contact Rover Marine if you cannot identify the issue.
- Reinstall hardware, check transom clamp areas, and inspect motor contact points.
- Run the inflatable boat safety checklist before the first launch.
- Review the current warranty page before attempting any repair that may affect coverage.
Inflatable boat storage questions
Is it better to store an inflatable boat inflated or deflated?
For most owners, deflated storage is the practical choice because it saves space and keeps the boat out of the weather. Inflated or partially inflated storage can work only when the boat is supported correctly, protected from sun, and stored according to the current instructions for the exact model.
How do you winterize an inflatable boat?
Wash it, rinse the underside and seam channels, dry it completely, remove loose hardware, inspect valves and fittings, deflate fully, fold without sharp creases, store it clean and dry off the floor, and winterize the motor according to its manual.
Can you store an inflatable boat in an unheated garage over winter?
Yes, if the boat is fully dry, stored deflated, elevated off the floor, protected from pests, and kept away from solvents, fuel, sharp objects, and direct sunlight. Check it during the off-season rather than leaving it untouched for months.
Will mice chew through an inflatable boat?
Rodents can damage stored fabrics, bags, wiring, and boat material. Store the boat elevated, away from walls, away from food sources, and use a safe pest-control plan for the building.
Should valves be open or closed during storage?
Follow the current instructions for your exact boat. Before storage, make sure valve areas are clean and dry, caps are clean, and there is no grit in the threads. Contact Rover Marine if a valve appears loose, damaged, or difficult to seal.



Leave a comment
This site is protected by hCaptcha and the hCaptcha Privacy Policy and Terms of Service apply.