
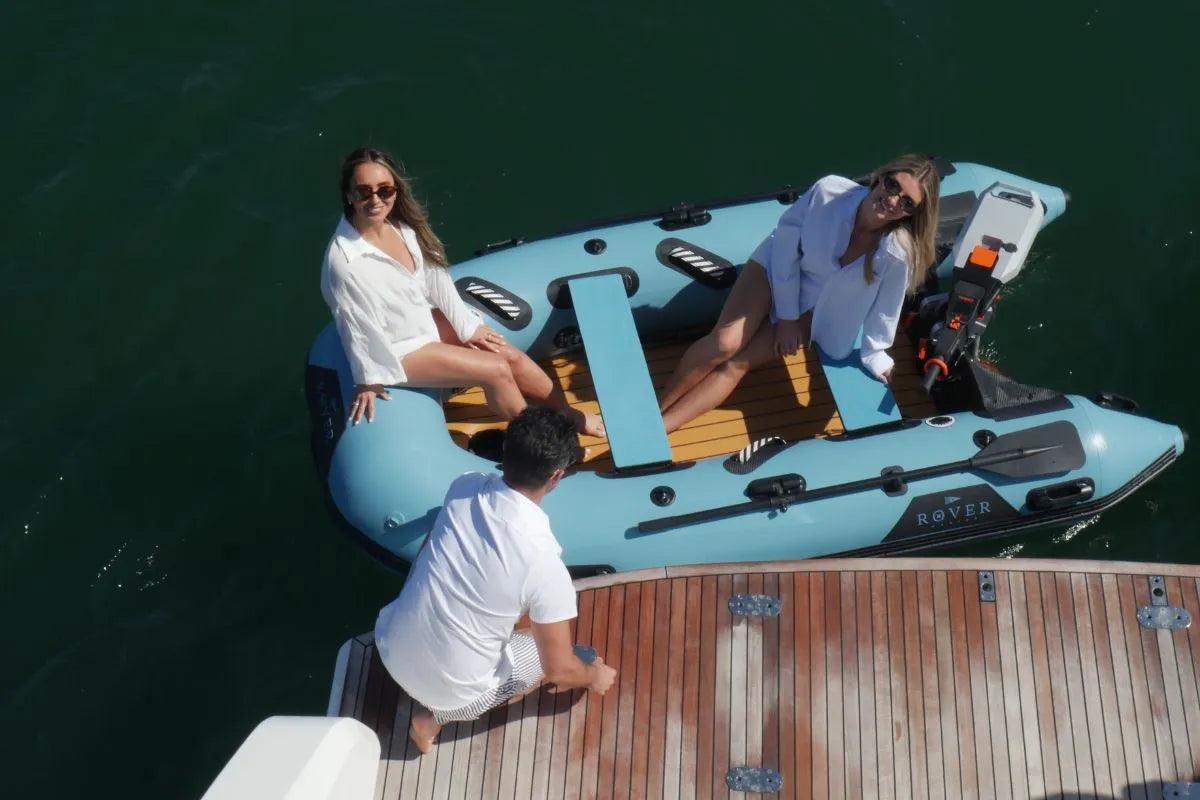
By mid-season, small inflatable boat issues start showing up. A tube loses pressure overnight. A valve hisses. A seam edge lifts. Caught early, most of these problems are manageable. Ignored, they become expensive.
This field guide walks through the three inflatable boat repair categories: tube punctures, seam issues, and valve leaks. It also explains how to diagnose pressure loss, what to keep in your repair kit, when a DIY repair makes sense, and when to stop and contact a professional.
The Three Repair Categories
Almost every inflatable boat repair falls into one of three buckets. The key is knowing which one you are dealing with before you start patching.
| Category | DIY Success Rate | Typical Time | Notes |
|---|---|---|---|
| Clean tube puncture | High | 30 to 60 minutes plus cure time | The most common patch repair when the damage is away from seams. |
| Small seam edge lift | Moderate | 1 to 2 hours plus cure time | Short edge lifts may be repairable. Structural seam failures need a shop. |
| Valve or O-ring leak | High | 15 to 30 minutes | Often the real cause of slow overnight pressure loss. |
Most pressure-loss calls start with the tube, but the first place to check is the valve. A dirty valve seat or worn O-ring can look like a tube problem until you test it properly.
How to Find a Leak in 10 Minutes
Do not patch anything until you know exactly where the leak is. Guessing wastes time, glue, and material.
- Inflate to working pressure: Rover Marine tubes to 3.5 PSI and the floor to 10 PSI.
- Mix soapy water: Use 1 part dish soap to 4 parts water in a spray bottle.
- Spray the valves first: Watch for bubbles around the cap, insert, and valve seat.
- Spray the seams: Work slowly from one end to the other.
- Spray the tube fabric: Use a grid pattern so you do not miss small pinholes.
- Mark the bubble site: Use a marker, then deflate, dry, and repair in order.
If you cannot find the leak with soapy water, the issue may be temperature change, a valve that only leaks under full pressure, or a small underwater puncture. For hard-to-find leaks, partially inflate the chamber and submerge sections in a kiddie pool, tub, or calm shallow water.
Tube Punctures: PVC, Hypalon, and Material Matching
The fabric determines the adhesive. Use the wrong glue and the patch will fail.
- PVC tubes: Use PVC-compatible adhesive and PVC patch material.
- Hypalon or CSM tubes: Use Hypalon-compatible adhesive and matching patch material.
- Polyurethane tubes: Use the specific polyurethane adhesive system recommended by the manufacturer.
Rover Marine Battle Boat and Battle Cat models are built with military-grade PVC and reinforced seams. Use PVC repair materials unless Rover Marine support directs otherwise.
Standard PVC Tube Patch Procedure
- Deflate the affected chamber until it is soft, not completely flat.
- Cut a round patch that extends at least 1.5 inches beyond the puncture on all sides.
- Round every corner. Square patch corners peel faster.
- Lightly abrade the patch and repair area. Dull the surface without damaging the fabric.
- Wipe both surfaces with the solvent provided in the repair kit.
- Apply thin adhesive coats according to the adhesive instructions.
- Let the adhesive tack properly before bonding.
- Press the patch from the center outward and roll out bubbles.
- Weight the patch with a flat object while it cures.
- Do not inflate to full pressure until the adhesive has cured properly.
Seam Repairs: What You Can Fix and What You Should Not
Seam issues need more caution than simple tube punctures. A small lifted edge may be manageable. A structural seam failure is not a normal field repair.
Short seam-edge lifts can sometimes be repaired using the same clean, abrade, adhesive, press, and cure process used for patches. The repair area must be clean, dry, and short enough to bond evenly under pressure.
Do not attempt a major structural seam repair in the field. Long seam splits, through-failures, transom bond-line issues, and floor delamination should go to a professional repair shop or the manufacturer.
- Potential DIY: short edge lift with no structural separation.
- Professional repair: long seam failure, transom bond failure, drop-stitch floor delamination, or repeated failed repairs.
Valve and O-Ring Fixes
Valve issues are one of the most common reasons an inflatable boat slowly loses pressure. The fix is often easier than a fabric patch.
Common Valve Problems
- Dirty valve seat: Sand, salt, or grit prevents the valve from sealing cleanly.
- Worn O-ring: A small O-ring can cause slow overnight pressure loss.
- Loose valve insert: A valve key may be needed to tighten or remove the insert.
- Damaged valve insert: Replacement inserts may be required if cleaning and O-ring replacement do not work.
A valve key is one of the most important tools in an inflatable boat repair kit. Without it, valve troubleshooting becomes much harder on the water.
Field Repair Kit: What to Carry
Build the repair kit once, refill it every season, and keep it with the boat.
| Item | Why It Matters |
|---|---|
| Matching PVC patch material | Required for Rover Marine PVC tube repairs. |
| PVC-compatible adhesive | The adhesive must match the boat fabric. |
| Approved solvent or cleaner | Prepares the surface before bonding. |
| Abrasive pad or 180 to 220 grit sandpaper | Dulls the surface so adhesive can bond. |
| Valve key | Needed for valve tightening, cleaning, and insert replacement. |
| Replacement O-rings | Small part, common fix. |
| Disposable gloves | Protects skin and keeps repair surfaces clean. |
| Hand pump | Needed to test and reinflate after repair. |
| Small roller or pressure tool | Helps press the patch evenly. |
| Permanent marker | Marks leak sites during diagnosis. |
| Spray bottle | Used for the soapy-water leak test. |
A complete kit fits in a small dry bag and can save a trip, a weekend, or a long tow back to shore.
Cure Time, Temperature, and Why Repairs Fail
Most failed patches come from one of three problems: wrong adhesive, contaminated surfaces, or poor cure conditions.
- Temperature matters: Adhesives cure best within the range listed on the product label.
- Humidity matters: High humidity can weaken some adhesive bonds.
- Surface prep matters: Dirt, salt, sunscreen, fuel, and skin oil can ruin a bond.
- Tack time matters: Joining surfaces too early or too late can weaken the repair.
- Full cure matters: A patch that feels dry may not be ready for full pressure or water use.
Read the adhesive label, follow the cure window, and do not rush the repair. A slow repair that holds is better than a fast repair that fails on the next launch.
When to Stop and Send It to a Pro
Some problems should not be handled as field repairs. Stop using the boat and contact Rover Marine or a qualified inflatable repair shop if you see any of the following:
- Structural seam failure longer than a few inches
- Transom bond-line lift, tear, or movement
- Drop-stitch floor delamination
- Damage within 2 inches of a major seam
- Multiple repairs in the same small area
- A repair you have already attempted twice without success
- Widespread UV cracking, fabric brittleness, or coating failure
A professional repair is usually cheaper than replacing a quality inflatable. More importantly, it protects the structure of the boat.
Preventing the Next Repair
Most inflatable boat repairs trace back to preventable causes: UV exposure, abrasion, dirty valves, bad storage, or pressure mistakes.
UV Protection
Cover the boat when it is not in use. Store indoors when possible. Prolonged direct sun can shorten the life of PVC and other inflatable materials.
Abrasion Control
Do not drag the boat across sharp gravel, barnacles, dock hardware, or rough concrete. Keep anchors, knives, hooks, tools, and hard gear away from the tubes.
Salt and Sand
Rinse the boat with fresh water after saltwater use. Pay special attention to valves, seams, handles, and floor edges.
Pressure Discipline
Use the correct pressure: 3.5 PSI for tubes and 10 PSI for the floor on Rover Marine Battle Boat and Battle Cat models. Do not overinflate. Heat can increase pressure during the day, especially in direct sun.
Storage
Store clean, dry, and out of extreme heat. Avoid folding the same hard crease the same way every time. Do not store heavy objects on top of the boat.
Rover Marine Repair Notes for Battle Boat and Battle Cat
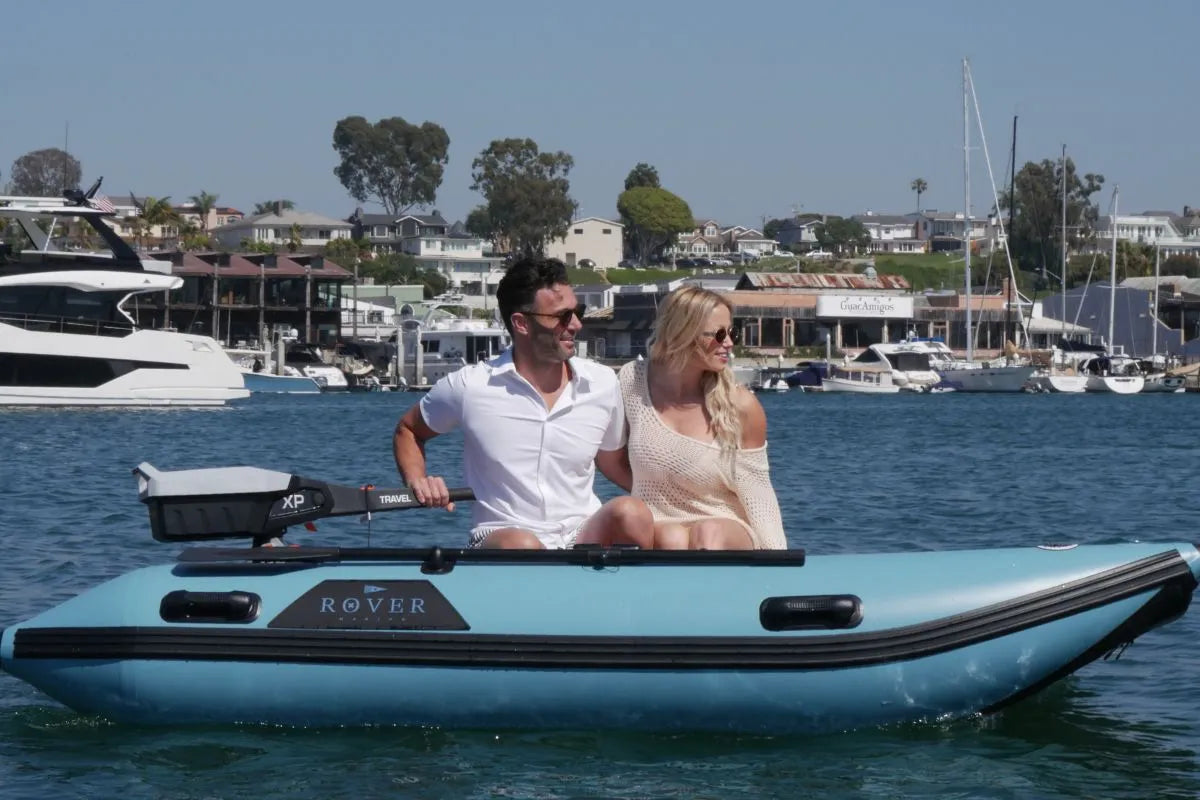
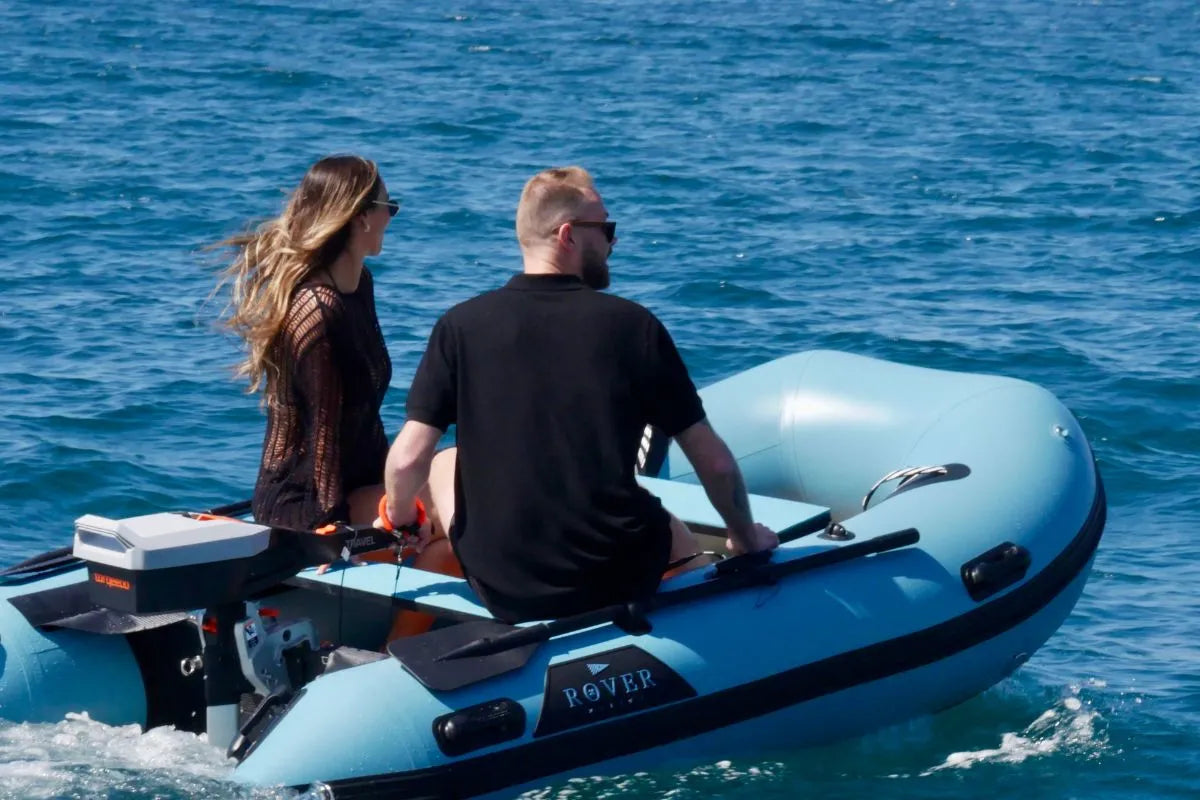
The Rover Marine Battle Boat and Rover Marine Battle Cat are built as portable, rugged inflatable boats for United States boaters who want easy launching, compact storage, and serious on-water utility.
| Spec | Battle Boat | Battle Cat |
|---|---|---|
| Tube pressure | 3.5 PSI | 3.5 PSI |
| Floor pressure | 10 PSI | 10 PSI |
| Starting price | $1,999 | $2,299 |
| Sizes | 8 ft, 10 ft, 12 ft | 8 ft, 10 ft, 12 ft |
| Power compatibility | Gas or electric outboard | Gas or electric outboard |
For replacement valve parts, matched PVC patches, or repair support, contact the Rover Marine team through the contact page.
FAQ
What PSI should I inflate my Rover Marine tubes to?
Inflate Rover Marine Battle Boat and Battle Cat tubes to 3.5 PSI. Inflate the floor to 10 PSI.
How do I tell if my boat is PVC or Hypalon?
Check the manufacturer documentation or product specifications. Rover Marine Battle Boat and Battle Cat models are listed as military-grade PVC boats, so PVC-compatible repair materials should be used unless Rover Marine support tells you otherwise.
Can I use marine sealant or household glue on an inflatable tube?
No. Use fabric-matched inflatable boat adhesive. Household glues and general marine sealants are not built for repeated inflation, flexing, rolling, and pressure cycles.
My valve leaks slowly overnight. Is the boat ruined?
Probably not. Slow overnight leaks are often caused by a dirty valve seat, loose insert, or worn O-ring. Test the valve first with soapy water before assuming the tube is damaged.
How long should a proper patch last?
A correctly applied patch using matching material, clean surface prep, and proper cure time can last for years. If a patch fails quickly, the usual cause is wrong adhesive, contamination, or rushed cure time.
Should I repair or replace an older inflatable?
Small punctures, valve issues, and minor edge lifts are usually worth repairing. Transom failure, floor delamination, major seam failure, and widespread UV damage may make replacement the better choice.
Stock the Kit Before You Need It
The worst time to discover you do not have a valve key, patch, or pressure gauge is at the ramp, on a sandbar, or at a remote campsite. Build the kit at home, keep it dry, and bring it every time.
- Shop the Battle Boat from $1,999
- Shop the Battle Cat from $2,299
- Browse electric outboards
- Browse the full Rover Marine catalog
Questions about a leak, valve, patch, or repair part? Reach out through the Rover Marine contact page.

Leave a comment
This site is protected by hCaptcha and the hCaptcha Privacy Policy and Terms of Service apply.