Rover Marine rigging guide
Rig the boat in the order that problems happen
Start with inflation and required safety gear, then add boarding, communication, anchoring, fishing, and comfort equipment for the way you actually boat.

Tier 1: launch and required safety
Pressure-capable pump and gauge
Your setup must reliably reach and read 10 PSI for the floor and 3.5 PSI for the tubes.
Wearable life jackets
Carry the correct, serviceable U.S. Coast Guard-approved wearable life jacket for every person and follow wear rules.
Sound signal and lights
Carry an efficient sound-producing device and the correct navigation lights for the boat, time, and conditions.
Communication and documents
Protect a charged phone or appropriate radio and carry registration or other documents required for the trip.
An accessory listing does not determine legal compliance. Use the current Coast Guard guide and your state boating agency to confirm required equipment.
Tier 2: boarding and recovery

- Boarding ladder: choose a ladder that can be reached and used from the water.
- Paddle or oars: keep manual propulsion accessible rather than buried under bags.
- Repair kit and valve tool: carry the correct components and know their limitations.
- Bailer or manual pump: size the backup for the boat and trip.
- Anchor system: match anchor, line, chain where appropriate, and rode length to bottom, depth, wind, and current.
Tier 3: rig for the day
| Use case | Add first | Keep clear |
|---|---|---|
| Fishing | Secure rod holder, tackle storage, landing tool, anchor plan | Hooks, knives, loose line, and the motor area |
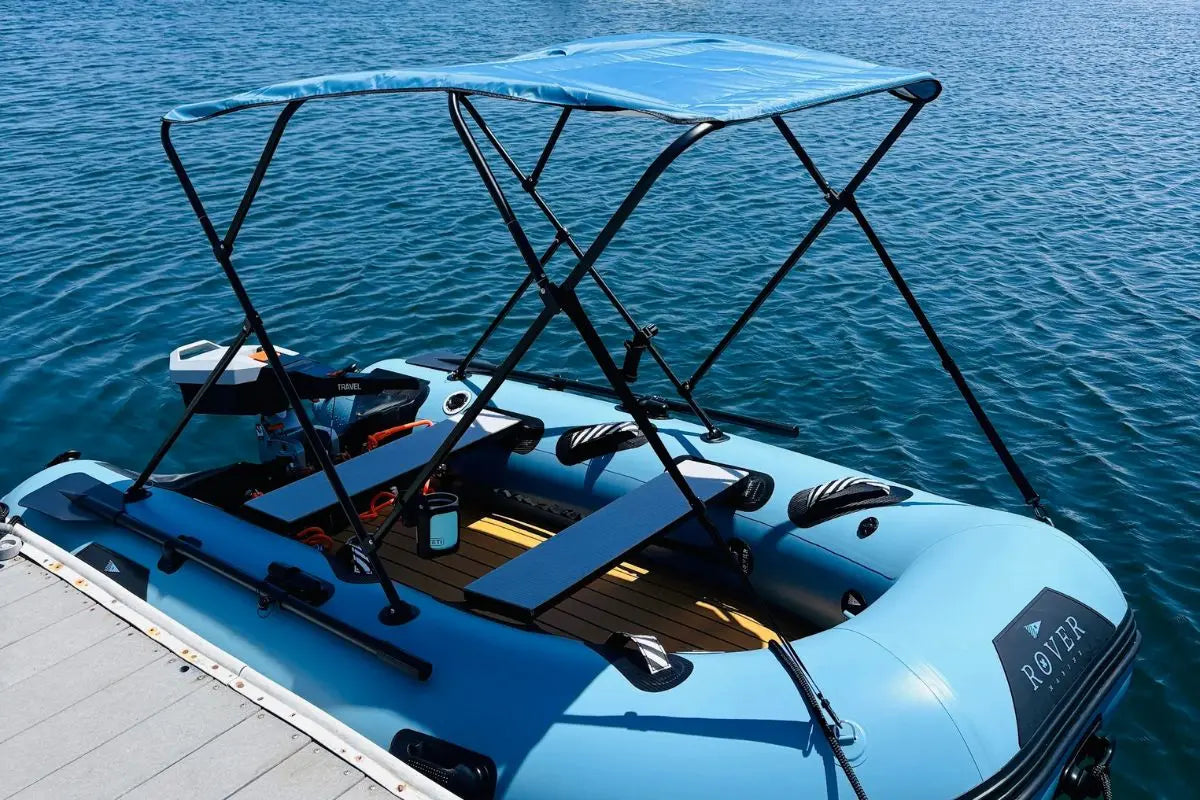
| Family cruising | Boarding ladder, cup holders, shade, dry storage | Walking path and emergency equipment |
| Dog boating | Canine life jacket, traction mat, water, shade | Sharp gear and entangling line |
| Yacht tender | Fenders, painter lines, boarding aid, light and sound gear | Transom, lifting points, and passenger entry |
| Lake day | Phone protection, anchor, ladder, cooler restraint | Valves, drain fittings, and weight balance |
Mounting rules that protect the boat
- Use purpose-built mounting points or compatible clamp-on equipment. Do not drill or glue hardware to the hull without written manufacturer guidance.
- Pad and inspect any clamp that contacts the boat, then recheck it during the day.
- Do not block valves, safety labels, seams, drain fittings, or the Hull Identification Number.
- Distribute cargo so the boat remains within capacity and balanced fore to aft and side to side.
- Secure heavy items without creating trip hazards or trapping passengers.
- Remove and rinse salt-exposed accessories before storage.
A practical buying order
- Pump and accurate gauge.
- All legally required and route-specific safety equipment.
- Boarding ladder, communication protection, paddle or oars, repair, and anchor gear.
- Motor, battery or fuel system, charger, and safety line matched to the exact boat.
- Rod holders, cup holders, dry storage, shade, and other use-case upgrades.
Current Rover Marine accessory listings include navigation lights, a signal whistle, a 3-step rope ladder, clamp-on cup holders, an adjustable rod holder, phone protection, and a starter bundle. Check live stock and fit before ordering.
Accessory questions
What should I buy first?
Start with the pump and all required safety equipment. Next solve boarding, communication, manual propulsion, repair, and anchoring before adding comfort gear.
Can I mount a rod holder?
Use a compatible mounting method intended for the boat or a suitable clamp-on system. Keep the load controlled and inspect the contact point regularly.
Will every accessory fit both hulls?
No. Fit can depend on tube geometry, rail or clamp location, model, and size. Confirm the specific product and planned mounting point.

Leave a comment
This site is protected by hCaptcha and the hCaptcha Privacy Policy and Terms of Service apply.